Master Natural Light Photography Tips for Stunning Shots

Editor: Diksha Yadav on Oct 16,2025

Learning the tips of natural light photography is essential for beginner and intermediate photographers. Knowing how to use light can transform ordinary scenes into stunning photos that require no artificial light. When you learn how to utilize the sun in photography and all the aspects of outdoor photography, you will be able to capture unforgettable moments, as well as photos that feel free, natural, vibrant, and authentic, rather than fake or messy.

Natural light has a profound impact on every aspect of a photo, from mood to texture to depth of color. Whether you are shooting portraits, landscapes, or street photography, using natural light and understanding how it reacts to your subject is vital. These tips and tricks we share will guide you through golden hour photography, natural light portrait photography, and essential lighting techniques for non-photography settings, enabling you to create beautiful imagery from all your outdoor photography locations.

Using Natural Light Photography Tips to Your Advantage

In natural light photography, the sun is your strongest ally.  Get creative with the sun, and it can transform the shots you take.   

Some effective methods for using sunlight for photographs:  

  • Backlighting: Place the sun behind the subject to produce a silhouette or an ethereal halo effect.  
  • Side lighting: Creates structure and depth by revealing texture and shape.  
  • Front lighting: Produces even light for portrait shots, but tends to flatten shadows.  
  • Diffused sunlight: Use a tree or clouds to diffuse harsh midday light and create a more balanced exposure.  

As newcomers explore varying sunlight conditions on subjects, their images will become less ordinary and much more appealing, without the use of electronic flash lighting or studio flash.
Outdoor Lighting Techniques for Stunning Results

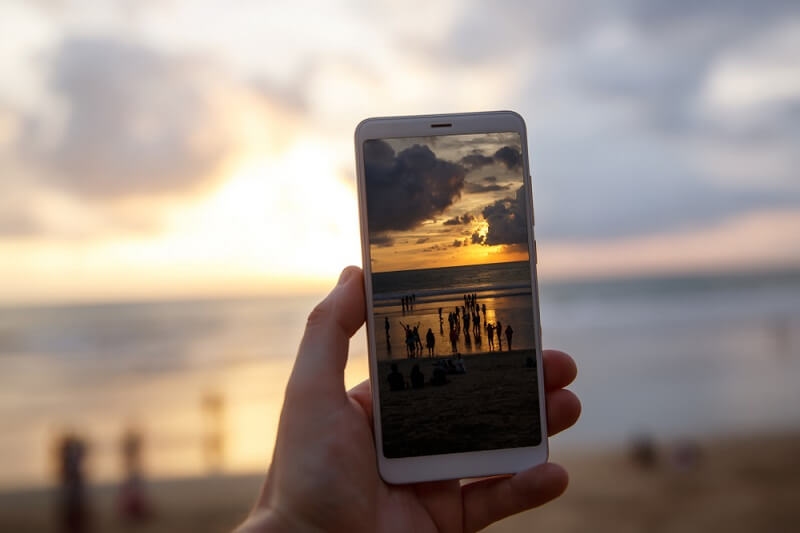
man clicking picture in golden hour

Outdoor lighting techniques are an essential component of natural light photography tips. The light changes throughout the day, and knowing how to work with it can create dramatic effects.

Some outdoor lighting techniques to try include:

  • Golden hour: Shoot your images at sunrise or sunset for soft, warm light that adds dimension and feeling.
  • Blue hour: Take pictures at twilight for cooler tones and dramatic shadows.
  • Reflectors: Bounce sunlight onto your subject for harsh shadows or to brighten faces.
  • Use shade: Block harsh sun by using trees, buildings, or umbrellas to create diffused sunlight.

By experimenting with these techniques, beginners can learn how to anticipate light conditions and create images that have a sense of feeling and clarity.

Golden Hour Photography for Magical Effects

Golden hour photography is popular with both professionals and amateurs. The golden hour is the time right after sunrise and just before sunset, characterized by warm, soft light that naturally accentuates textures and colors.

Things to remember about golden hour photography:

  • Plan your shoot: This may seem obvious, but checking sunrise/sunset times will help you plan for superior light.
  • Be mindful of your positioning: Side lighting or backlighting creates depth, while the warm golden sunlight can cast a pleasing glow to the image.
  • Consider your camera settings: A lower ISO / wider aperture 'opens' the camera to more light, helping to capture better, vivid tones and texture without noise in the image.
  • Utilize the natural elements: Trees, water, or architectural detail can aid in the overall composition as well.

The golden hour provides an ideal time for landscape and daylight portraits, adding warmth to your image that is hard to imitate post-editing.

Daylight Portraits That Look Professional

Taking daylight portraits can be challenging if the sun is bright, but with the proper techniques, you can capture natural light portraits that are flattering and beautiful.

Some tips for taking lovely portraits in daylight:

  • Place your subject well: Don't put your subject in direct sunlight (especially if it's midday) or in bright sunlight; find shade to lessen makeup shadows.
  • Use a reflector or a white surface: Aim the sunlight and use a reflector or a white surface to bounce the sunlight around your subject, filling shadows on their face.
  • Watch your background: Bright backgrounds can compete with your subjects; be aware of this when framing their portrait. You can try adjusting your angle or changing your aperture.
  • Golden hour portraits: Use the warm light from the sun for a more natural glow on skin tones.

Using these strategies can enable beginners to produce professional-quality portraits in natural environments without the need for studio lighting.

Lighting for Beginners Made Simple

If you're new to photography, learning about light is essential for beginners. Understanding simple concepts is the starting point, and you can develop your skills as you experiment with more advanced techniques. For beginner-friendly lighting tips:

  • Observe shadows and highlights: Pay attention to how natural light works with your scene.
  • Avoid harsh light in midday: When the sun is above your subject, it will create harsh shadows and highlights.
  • Try angles: Get around your subject and see how the light works through the image.
  • Combine things: Experiment with reflectors or diffusers, or even use a white sheet of material to work with light in different ways.

If beginners can focus on these fundamental concepts, they will build confidence and develop a solid understanding of natural light and its principles.

Balancing Exposure in Natural Light

In natural light photography, getting the exposure right is very important. Studio lighting is fixed and can be controlled easily, whereas outdoor lighting is constantly changing, requiring frequent adjustments. 

Exposure tips:

  • Adjust the ISO: The ISO should be kept low in bright sunlight and can be turned up just a bit in shady areas or in low levels of light. 
  • Manage aperture: A wider aperture will create a shallow depth of field, and a smaller aperture will keep more of the scene in focus.
  • Be mindful of shutter speed: When the light is bright, you can adjust the shutter speed to be fast, while a lower shutter speed can allow for creative photography in lower-light situations.
  • Use Exposure Compensation: To make easy adjustments for brighter or shadowy areas without changing your settings drastically.

Ultimately, balancing all these settings will help beginners ensure they capture clarity, color, and detail properly in every shot.

Creative Techniques for Natural Light

After you’ve learned the basics, consider trying some creative natural light photography tips to help your photographs stand out.

  • Silhouettes: Position your subject around the sun, then expose for the back light. 
  • Lens flare: Consider entering into the light, which may help to cause flares, and in an artistic way. 
  • Backlit subjects: Create rim lighting of the subject being backlit.
  • Patterns and textures: Use light and shadows in patterns to create depth in landscapes, architecture, and beyond. 

After beginners experiment with these creative aspects, they will establish their own photo style and gain a great deal of understanding of the various lighting techniques used outdoors.

Tools to Enhance Natural Light Photography

Natural light is free to use. But these few basic tools can help you control light and enhance your photos:

  • Reflectors: Reflect sunlight into shadows; great for portraits in daylight.
  • Diffusers: Soften intense light and/or unexposed shadows.
  • Tripod: Stabilize your camera for longer existing-light exposures, or landscapes during the golden hour of the day.
  • Lens hoods: Help to eliminate glare and some lens flare in bright light conditions.

Using these tools can shape a photographer's natural light setup while giving beginners the experience of creating with light, all while maintaining the integrity of their subject matter.

Common Mistakes Beginners Make

Even with natural light photography tips, beginners can face challenges. Knowing common mistakes helps avoid frustration and improve results:

  • Shooting in harsh midday sun: Can create harsh shadows and blown highlights.
  • Ignoring reflections: Shiny surfaces may distract or overexpose parts of your image.
  • Incorrect white balance: Can make photos look too warm or cold.
  • Neglecting background: Bright or cluttered backgrounds may compete with the subject.

Awareness of these mistakes encourages better planning and more consistent, high-quality shots.

Practicing and Experimenting with Sunlight

To master the use of sunlight in photography, practice regularly and experiment with various times, angles, and locations.

  • Morning light: Soft and calm, ideal for portraits and landscapes.
  • Midday light: Strong but challenging—use shade or diffusers.
  • Golden hour: Warm and flattering for almost all subjects.
  • Seasonal variations: Light changes with seasons, offering unique opportunities year-round.

By observing and adapting to natural light, beginners develop intuition and creativity that improve every photo.

Conclusion

Mastering natural light photography tips helps you create stunning images with minimal equipment. By utilizing sunlight in photography, practicing outdoor lighting techniques, leveraging the golden hour, and capturing daylight portraits, beginners can refine their skills, achieve professional-quality results, and enjoy the creative freedom of shooting in natural light.


This content was created by AI