

One of the ways to value food is by recording its beauty; it is both art and science. You might be a blogger, a chef, or just a home cook who wants to share the dishes that you have made online. Then, it is a must to learn how to make the food look so nice that people cannot help but crave it. By applying perfect food photography tips, anyone can transform an ordinary meal into eye candy, and this is no longer the work of great artists alone.
This is a guide to taking professional-quality food pictures at home. It covers topics such as how to style food for photos, lighting for food photography, creating the perfect food camera setup, and where to get the best food photography lenses.
One basic idea that is worth remembering when you are about to start shooting is to make the food appear as fresh, real, and tasty as possible. The top food photography tips always revolve around the three words: simplicity, balance, and emotion. You do not have to have a fancy studio; what is really needed is the ability to see the small things and have a good sense of composition.
The way food is styled for photos depends largely on Presentation. We can say that it is the way you dress your meal for the camera. The main idea is to make the food look as if it is still natural but at the same time, a little bit done. Too much food styling might result in a fake look or even make the food look unappetizing.
Here are some easy tips that will give you great results:
Each photo has to be a narrative. In the case of breakfast, the picture might show a hot mug of coffee, whereas a luxurious dinner arrangement can be represented by candles and soft colors. Every detail is there to help communicate the feeling you want to your audience.
One's lighting is one’s strongest weapon in photography. When done well, the light used for food photography intensifies the color, texture, and, of course, the freshness of the food scene. On the other hand, when badly lit, the food may look dull or flat.
Indeed, the best light is natural. Work close to a big window that allows diffused, solar rays to reach your spot. No hard overhead lights that result in strong shadows and even change the color of the food should be used. To your aid in light controlling, you have simple things: white paper or foam boards to reflect light and baking paper or curtains to soften it.
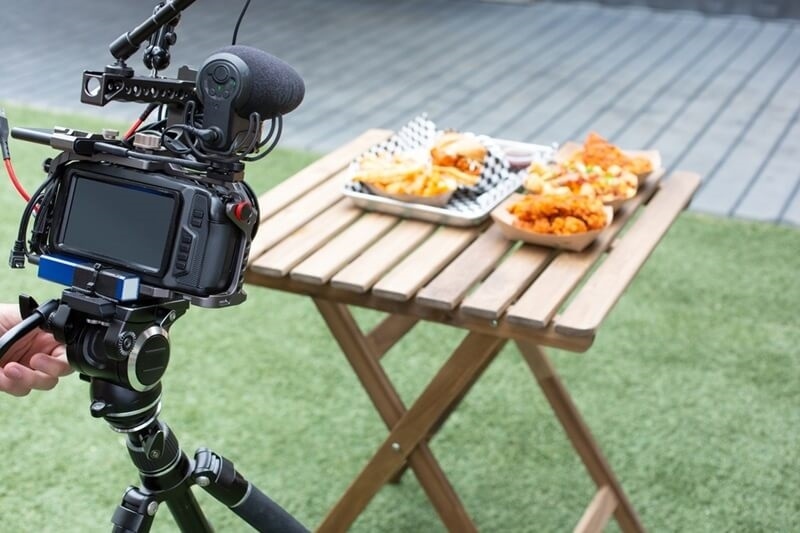
Your food camera setup can be very simple. To a large extent, professional-quality results can be achieved with a DSLR, mirrorless camera, or even a smartphone if you know the basic camera settings and the nature of light.
It is advisable to always use a tripod. This will not only help you to keep your camera stable but also to have the same composition in your shots, especially if the light is poor. Play around with your aperture settings—a smaller aperture (like f/8) will make everything sharp, while a bigger one (like f/2.8) will blur the background. Processing your images in RAW format gives you the freedom to change the colors and the brightness of the images later without compromising the quality.
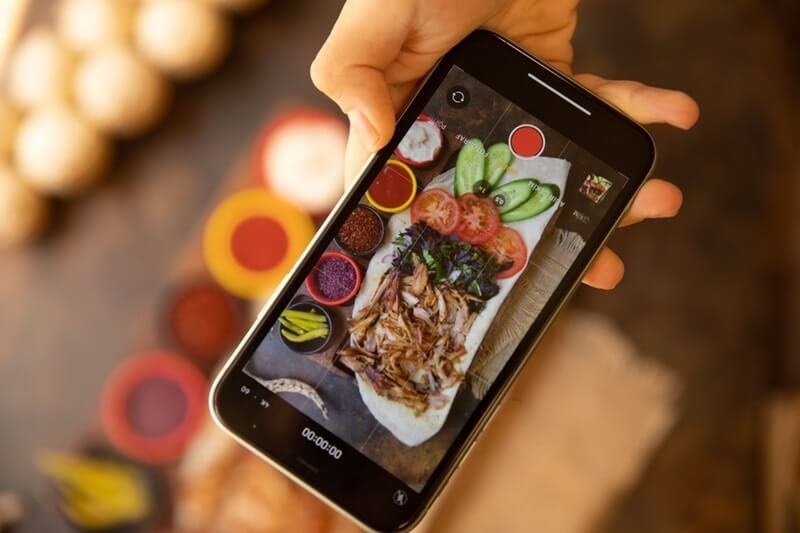
The results can be breathtaking with a smartphone as well. Most camera apps provide users with full manual control over exposure, focus, and white balance, thus allowing them to adapt to different lighting conditions.
Food photography focuses on the textures, details, and depth of the images. To general shots a 50mm prime lens is the best weapon as it gives you the most crispness as well as a natural viewpoint. If you want to do the compositions a bit more focused, an 85mm lens is the way to go and with it, you can have a nice smooth background blur that makes the food pop out.
When it comes to extreme close-ups, such as the skin of a macaron or the crispy part of a croissant, a 100mm macro lens is the answer. If you are a beginner, it is better that you get one good lens and figure out how to use it rather than getting several poor lenses and not being able to use them. Just a basic setup with good light and styling can create stunning images.
The greatest benefit of food photography at home is the fact that one can come up with shots that look professional without having to buy fancy stuff. A kitchen table next to a window can be your shooting place, and items at home can be your models.
You can easily do these home techniques:
While experimenting be patient. The natural lighting changes rapidly, hence you have to modify your set-up and take several photos until you get the proper play of the light and shade.
One of the most traditional and at the same time most powerful tools for composition is the rule of thirds—try not to put the subject in the middle of the frame, but slightly off-center, that way the picture is more balanced and the viewer's eye moves more naturally. Another compositional trick is to use the so-called negative space, which means leaving parts of the photo empty. This not only helps to highlight the main dish but also gives a feeling of peace.
Have a try at leading lines, which are created by placing, for instance, utensils or napkins in a way that they gently direct the viewer’s look towards the rest of the picture. Symmetrical arrangements are best for minimal or classy designs, whereas asymmetrical layouts breathe life into energetic and rustic style dinners. Don’t always use the same angle for your shots—go top-down for flat foods, side angles to show height, and close-ups to reveal the texture.
Lightroom or Snapseed can be your editing assistants when it comes to setting correct exposure, contrast, and sharpness. Don’t hesitate to clarify your picture a bit to make the texture more visible, but be very careful not to overdo it or apply heavy filters that are not mixed well. The food should never wear a mask of fakeness; it should always look real and edible.
If the photograph is too warm or cold then the white balance should be corrected so that the colors remain natural, crop if the composition is weak and tweak the colors until they are quite close to the real dish. Minor editing helps a photo to look done and not over the top which is the main characteristic of professional photos.
With these valuable food photography tips, you can make every meal look camera-ready. Whether you are into styling food for photos, or your goal is to improve the lighting for food photography, or perfecting your food camera setup at home, the thing that makes a difference is practice.
Keep in mind that the intention is not only to take pictures of food but rather to create the visual of flavor, color, and warmth that will entice the viewers.
This content was created by AI