If there’s one thing that separates a good photo from a great one, it’s light. Light can turn a dull frame into something cinematic, emotional, and alive. The funny thing is, most beginners obsess over cameras and lenses but overlook lighting — the one thing that truly defines how a photo feels. The way light falls on a subject changes everything: the mood, the texture, the story. Once you understand how to use it, you stop fighting with your camera and start creating with intention. So, let’s dive into lighting techniques in photography, the real language of visual storytelling.
Photography literally means “drawing with light.” Everything else — color, texture, emotion — comes after. Before thinking about your settings or equipment, pay attention to how light behaves. Is it soft or harsh? Warm or cool? Directional or diffused? Every type of light says something different. Harsh noon sunlight creates contrast and drama. Cloudy skies bring softness and calm. The trick is to match the light to your story. Once you start noticing it, you’ll realize light has personality — unpredictable, beautiful, and endlessly creative.

Every photo is a dance between highlights and shadows. Mastering lighting techniques in photography means learning how to balance both. Think of light like paint — you can add, subtract, or reshape it. The goal isn’t always to eliminate shadows; sometimes, they do the storytelling for you. For portraits, side lighting adds drama. For food or product shots, top lighting makes textures pop. For landscapes, the golden hour does half the work for you. Learn to read the light, not just use it. It’ll tell you what kind of setup your scene needs.
This is one of the biggest questions photographers face — natural vs artificial light. Natural light is spontaneous and free. It changes throughout the day, from soft morning glow to harsh midday contrast and warm evening hues. It gives your photos authenticity and emotion. Artificial light, on the other hand, gives you control. You decide where it falls, how bright it is, and what color temperature it carries. Studio lights, flashes, or LED panels help you build light from scratch. The secret is not to pick a side but to mix them wisely. A window-lit portrait with a touch of fill flash? Perfect balance.
The direction of light matters more than its intensity. Front lighting makes things clear but flat. Side lighting creates depth and mood. Backlighting, when handled right, gives that dreamy halo or silhouette effect. Try moving around your subject — a few feet to the left or right can completely change the image’s character. Don’t just stand where it’s convenient. Follow the light. Move with it. Observe how it shapes faces or reflects off surfaces. That’s where creativity begins.
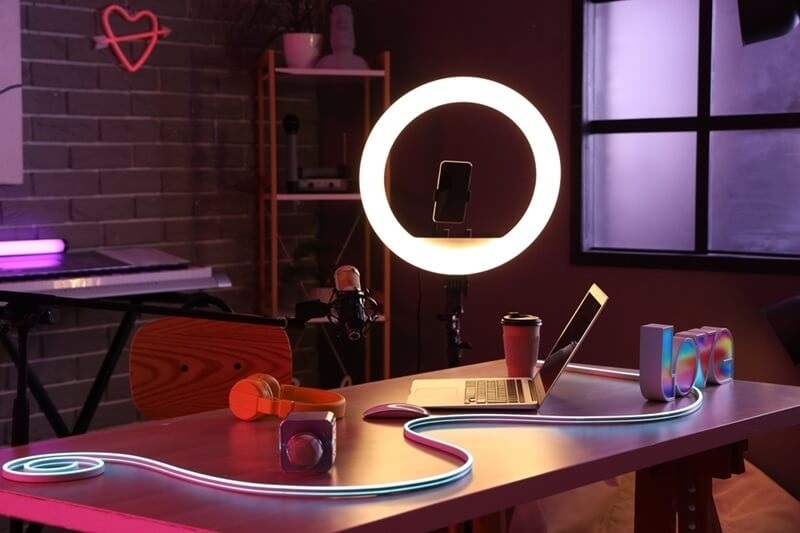
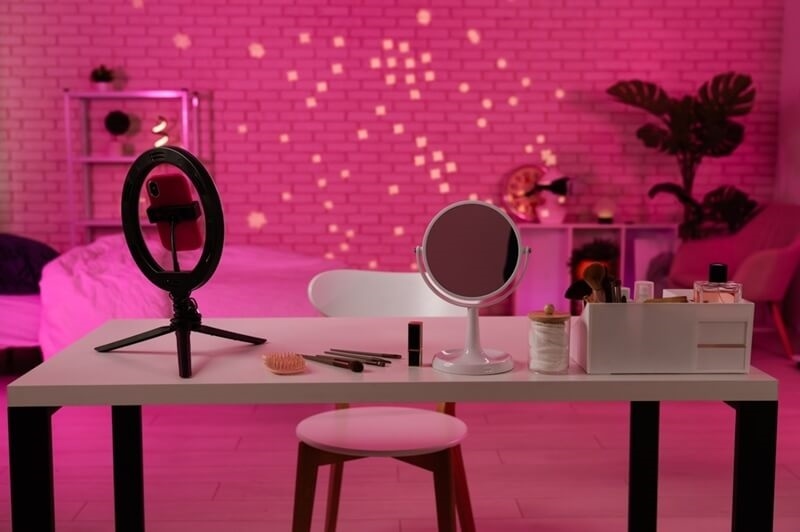
If you want full control, creating your own studio lighting setup is worth it. You don’t need a huge budget or space. Start with one light and build from there. A simple key light (your main source) can do wonders. Add a reflector to bounce light back onto your subject for balance. Once you’re comfortable, add a fill light or a backlight for separation. Even household lamps or LED panels can substitute professional gear when you’re experimenting. The secret isn’t expensive equipment — it’s knowing what to do with whatever light you have.
Think of modifiers as the makeup artists of photography. They don’t change the light; they refine it. A softbox guide is a must for anyone serious about controlled lighting. Softboxes spread and soften light, removing harsh shadows and adding flattering glow to skin tones. Umbrellas do something similar but scatter light more widely. For creative effects, use grids, gels, or reflectors. Modifiers are about shaping emotion — diffused light for warmth, hard light for tension. Once you experiment with a few, you’ll never see lighting as just brightness again.
Flash doesn’t have to be scary. A lot of beginners treat it like that unpredictable cousin who shows up and ruins every family photo. But once you understand flash photography basics, it becomes your most reliable tool. The key is to bounce light instead of blasting it straight at your subject. Aim the flash toward a ceiling or wall to diffuse it. Play with manual power settings to control intensity. Use gels to match your flash color with ambient light. And remember, flash isn’t just for dark rooms. Even on bright days, a little fill flash can rescue shadows on faces.
It may seem technical, but it's not as hard as it sounds. Lighting ratios tell you how bright and dark the light and shadow are in your picture. When tutorials talk about lighting ratios, they typically mean how dramatic or balanced your picture appears. A 1:1 ratio implies that the lighting is even, which is great for pictures of products or people. A 4:1 ratio makes things more dramatic and deep, which is perfect for melancholy portraiture or movie-like effects. This helps you become better at controlling your emotions. Too flat and it feels lifeless; too contrasty and it feels forced. Aim for what your story needs, not what a manual says.
Shadows aren’t mistakes. They’re storytellers. They create contrast, shape, and mystery. In fact, a well-placed shadow often says more than a brightly lit subject. Try playing with blinds, fabrics, or objects to cast interesting shapes. Hard light emphasizes edges, while soft light smooths transitions. Next time you shoot, look at where your shadows fall — they might be framing your story for you.
Here’s where things get really fun — combining sunlight with controlled light sources. Imagine a window-lit portrait where a soft LED gently fills in shadows. That’s the best of both worlds. When balancing natural vs artificial light, pay attention to color temperature. Daylight is cooler (bluer), while most artificial sources are warmer (yellower). Adjust your white balance or use gels to match them. The trick is subtlety. When done right, viewers won’t even notice the blend. They’ll just feel that the lighting looks natural yet cinematic.
In the end, learning lighting techniques in photography is less about memorizing setups and more about developing sensitivity. Whether you’re mastering flash photography basics, exploring natural vs artificial light, or studying lighting ratios explained, the real goal is connection — between you, your subject, and the light that binds it all. When you stop forcing light and start collaborating with it, your photos begin to breathe. They stop being pictures and start becoming emotions made visible. Light is always there, waiting. All you need to do is notice it.
This content was created by AI